

Hanging a frame, a painting, a mirror, a chandelier or another decorative item often means drilling into a wall or ceiling. The trouble is that this can quickly leave the room dusty, especially when you use a hammer drill on brick, concrete or plaster.
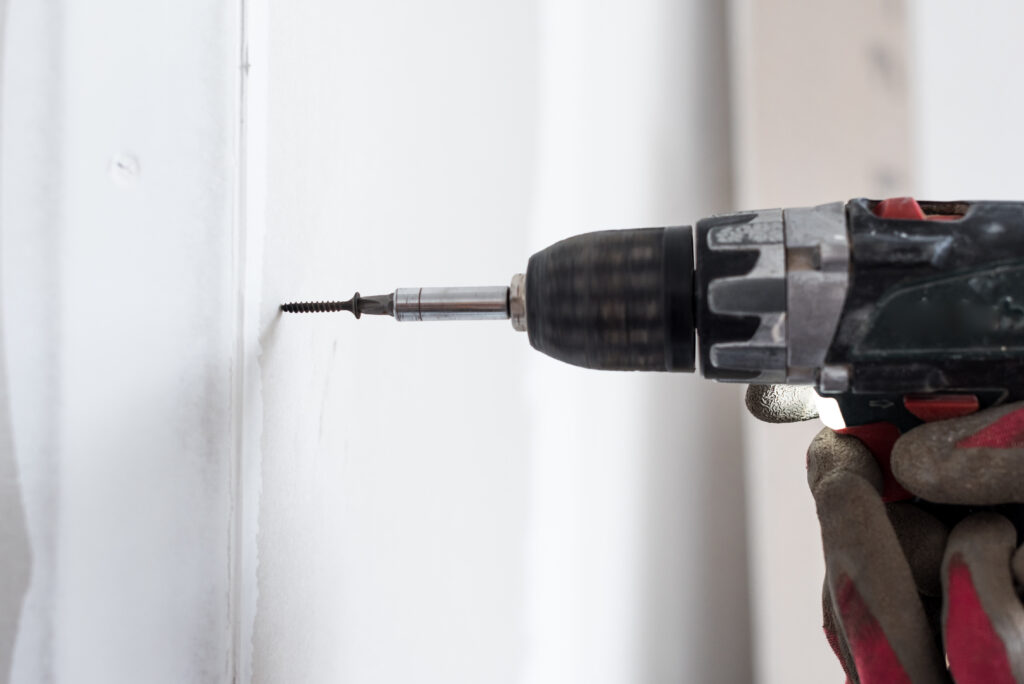
Learning how to drill without making a mess comes down to a few simple tricks that greatly reduce dust and help keep your home clean. With a little preparation, you can drill holes without leaving dust all over the floor, furniture or baseboards.
How to drill without making a mess using a vacuum cleaner
The most effective method is to use a vacuum cleaner while you drill. Simply hold the vacuum nozzle just below the spot where you will make the hole, as close to the drill bit as possible.
This sucks up most of the drilling dust immediately, before it has time to fall down the wall. It is particularly useful for preventing trails of dust down to the baseboard or onto the floor.
This method is easier with two people: one holds the drill while the other keeps the vacuum nozzle in place. For an even cleaner result, use a narrow nozzle or crevice tool so you can get close to the drilling area.
Tape a sheet of paper below the hole
If you are working alone, don’t worry: the sheet of paper trick works very well for drilling into a wall without making too much mess. Use a little masking tape to attach a sheet just below the spot where you will drill.
Then fold the paper slightly into a V shape or a small trough. It will act as a container, catching much of the dust that falls while you drill.
You can also use a Post-it note, a slightly open envelope or even a small piece of thin cardboard. The aim is to create a little tray below the hole. Once you have finished drilling, carefully remove the paper and put it in the trash along with the dust it contains.
This trick is ideal for small jobs, such as putting up a shelf, a frame, a coat hook or a wall bracket.
Use a cup when drilling into a ceiling
Drilling into a ceiling is often messier because dust falls straight toward your face, hair, clothes and the floor. A sheet of paper is clearly not suitable here. Fortunately, there is another very simple solution: a plastic cup.
Drill or cut a small opening in the bottom of a plastic cup so the drill bit can pass through it. Position the cup around the bit with its opening facing upward, then drill into the ceiling as usual.
As you drill, the cup acts as a small dust catcher, collecting much of the debris that falls from the ceiling. You can also use a tennis ball cut in half. This gives a similar result and sometimes stays in place better, depending on the type of drill bit you use.
Before you start, remember to put on safety glasses, especially when drilling into a ceiling. Even with a cup, some dust can escape.
Prepare the area before drilling
To avoid unpleasant surprises, take a moment to protect the area around you. Move fragile items, cover nearby furniture with an old sheet and check that you are using a suitable drill bit for the wall or ceiling material.
A clean hole also depends on the right tool. An unsuitable bit can produce more dust, damage the surface or leave an uneven hole. Take the time to identify the material you are drilling into: plaster, brick, concrete, tile or wood.
These simple steps make drilling into a wall or ceiling much less messy. A vacuum cleaner, folded paper or a cup can help you tackle small decorating jobs while keeping your home clean.
 Open Immovlan