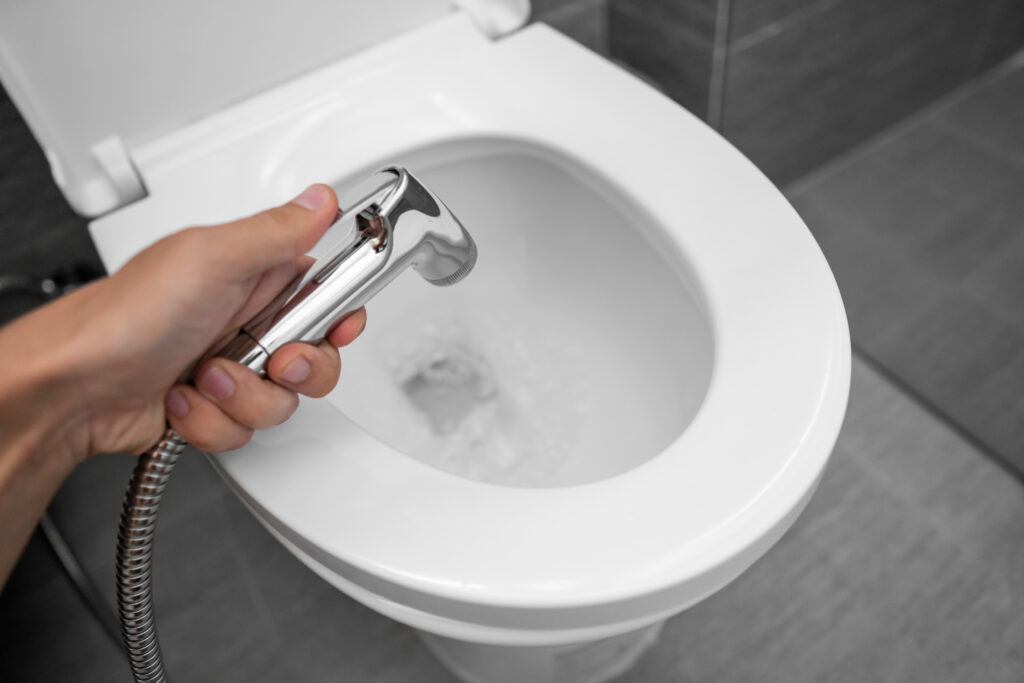
Installing a bidet sprayer (also known as a WC douchette) is an increasingly popular, eco-friendly alternative to using toilet paper. This simple addition improves hygiene and reduces waste. Here’s how you can easily install one in your bathroom.
1. Gather the necessary materials
To install a WC sprayer, you’ll need a few key items:
Bidet sprayer with flexible hose
T-connector (or Y-connector) to connect the sprayer to the water supply
Adjustable wrench or pliers
Teflon tape for sealing connections
Mounting hardware for the sprayer (usually included)
Once you have these materials, you’re ready to proceed with installation.
2. Step-by-step installation guide
Step 1: Turn off the water supply
Before starting, turn off the water supply to the toilet. There’s typically a valve located near the base of the toilet. If you can’t find this, turn off the main water supply to your home.
Step 2: Empty the toilet tank
Flush the toilet to empty the water in the tank and prevent overflow when you disconnect the water hose.
Step 3: Disconnect the water hose
Using an adjustable wrench or pliers, disconnect the water hose from the toilet’s fill valve.
Step 4: Install the T-connector
Screw the T-connector onto the fill valve where the hose was connected. This connector will allow both the toilet and the bidet sprayer to be connected to the water supply.
Step 5: Reconnect the toilet hose
Reconnect the toilet’s water hose to one side of the T-connector.
Step 6: Attach the bidet sprayer hose
Attach the flexible hose of the bidet sprayer to the other side of the T-connector. Ensure that all connections are tight to avoid leaks, and use Teflon tape if needed to create a watertight seal.
Step 7: Mount the sprayer
Mount the sprayer holder on the wall or near the toilet for easy access. Use the screws and anchors provided to secure it to the wall.
Step 8: Turn on the water and test
Turn the water supply back on and check for any leaks. Once everything is securely in place, test the sprayer to ensure it functions correctly.
3. Tips for usage and maintenance
When using the bidet sprayer, maintain a gentle water pressure to avoid splashing. Clean the sprayer regularly to prevent limescale buildup, especially in areas with hard water. A gentle cleaning solution will help keep the sprayer and hose in good condition.
4. Benefits of installing a bidet sprayer
There are numerous benefits to installing a bidet sprayer:
Reduces reliance on toilet paper, saving money and resources.
Provides superior personal hygiene compared to using toilet paper alone.
Easy to install and maintain, making it an accessible bathroom upgrade.
Final thoughts
Installing a bidet sprayer in your toilet is a quick and cost-effective way to improve hygiene and reduce waste. By following these simple steps and ensuring you have the right tools, you can enjoy a cleaner, more eco-friendly bathroom experience.
Jean-Philippe Roisin has been working in digital marketing and content creation, serving as the Digital Marketing Manager at Immovlan.be since January 2018. Living in Brussels, Belgium, he has contributed to the content development of Gocar.be and Immovlan.be, aiming to improve audience engagement through digital content. Jean-Philippe is also the owner of Good to Great, a role he has held since January 2011, where he supports various businesses, from startups to established companies, in reaching their digital marketing objectives. His time at Gocar.be, until December 2020, coincided with a period of growth for the platform, helping to enhance its position in Belgium's automotive industry.


 Open Immovlan