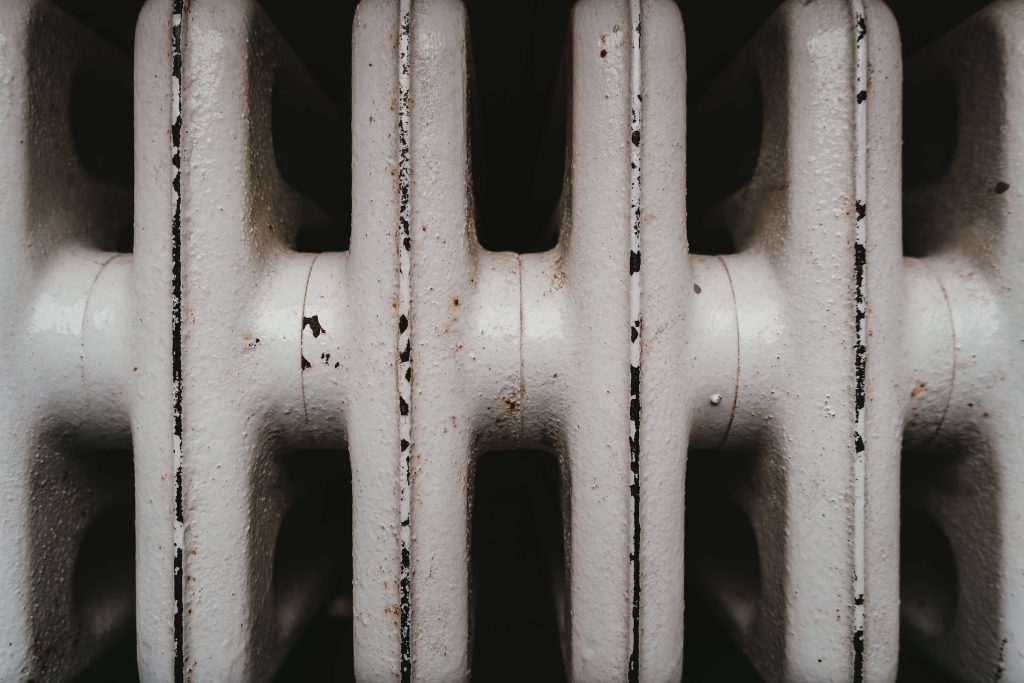
Radiators have been a staple in many homes, providing warmth and comfort during the cold months. However, there are times when homeowners need to remove them, whether for renovation purposes, repairs, replacements, or simply to clean the often-neglected space behind them. Removing a radiator might seem like a daunting task, but with the right guidance, it can be straightforward. In this article, we’ll walk you through a step-by-step process to safely and efficiently remove a radiator from your home.

1. Turn Off Your Heating System
It might sound obvious, but it’s a crucial first step. Before you begin any work on your radiator, ensure that your boiler or heating system is turned off. This not only ensures safety but also prevents any hot water from spilling out during the removal process. Wait for the entire system to cool down, which might take a few hours, especially if the heating was on for an extended period.
2. Shut Off the Water Supply Valves
Every radiator is connected to the home’s water supply through valves. These valves control the flow of water into and out of the radiator. Before you start the removal process, locate these valves, which are typically found near the radiator or in your home’s basement or utility room. Turn these valves off to cut off the water supply to the radiator. This step is crucial to prevent any water spillage during the removal process.
3. Drain the Remaining Water
Even after shutting off the valves, radiators typically retain some water. It’s essential to drain this water to ensure a mess-free removal. To do this, first, remove the cap from the drain valve, which is usually located at the bottom of the radiator. Next, tighten the evacuation tee and loosen the supply nut. Be prepared for water to flow out once you release the connection with the water inlet valve. It’s a good idea to have a basin or bucket handy to collect this water. Once you’ve drained the initial water, open the radiator’s purge valve to release any trapped pressure.
4. Unfasten the Radiator Brackets
Radiators are held in place by brackets attached to the wall. To remove the radiator, you’ll need to unfasten these brackets. Using the appropriate wrench or tool, carefully remove the bolts and screws holding the radiator in place. As you do this, ensure you keep all the hardware in a safe place, especially if you plan to reinstall the radiator later.
5. Gently Remove the Radiator
With all the previous steps completed, you’re now ready to remove the radiator. If you’re dealing with a lightweight model, you might be able to do this on your own. However, for heavier models, especially those made of cast iron, it’s advisable to seek assistance. Having an extra pair of hands will ensure the radiator is removed safely without causing any damage or injury.
Conclusion: Safety First!
Removing a radiator can be a straightforward task when done with care and attention to detail. Always prioritize safety, especially when dealing with heavy equipment and water. Whether you’re renovating, repairing, or just giving your home a deep clean, knowing how to safely remove a radiator is a valuable skill for any homeowner.

 Open Immovlan